- Start the online teaching session as the Host.
- Click on the "Record" option:

- If options appear, click on "Record on this computer"

- The Host will see an indicator showing that recording is in progress:

- When the teacher starts a recording, Zoom notifies all participants that recording is in progress.
Students must actively choose either "Continue" or "Leave Meeting". - Participants will see an indicator showing that recording is in progress:

If the recording is to be continued later, you should pause it, rather than stopping it.If you click on "Stop Recording" you will have to start a new recording later and will create two files.
- Once a recording is in progress, click on "Pause Recording" at the bottom of the screen:

- To continue, click on "Resume Recording":

Note: If the recording is to be continued later, it is better to pause it than to stop it. If you click on "Stop Recording" you will have to start a new recording later and will create two files.
- Once a recording is in progress, click on "Stop Recording" at the bottom of the screen:

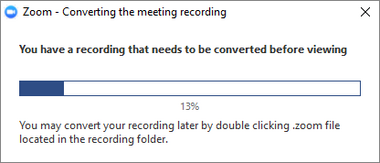
- When the online teaching session is concluded, Zoom will convert the recording to enable you to access the file.
Note that this process starts after you have concluded the meeting, not when you stop recording.
The recorded file will be saved in your computer.
- When you make a recording, it will include everything you see on your screen.
- If you share the screen, what you share will be included in the recording.
- Chat will not be included in the recording.
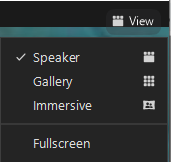
- Hint: Use "Speaker View" when you make a recording (selected at the top right)
Then only the person speaking will be displayed. The muted participants will not be visible in the recording. The person speaking will also be displayed up in the corner when content is shared on the screen.
- The Host and Co-host can always make recordings in Zoom
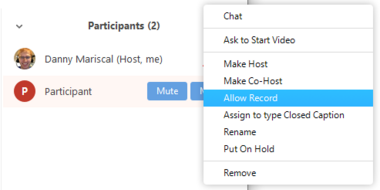
- The Host (and Co-host) may also grant permission to other participants to make recordings:
- In a Zoom meeting, click on "Manage Participants".
- Click on "More" beside the name of the person who is to be granted permission:
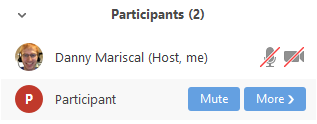
- Select the "Allow Record" option:
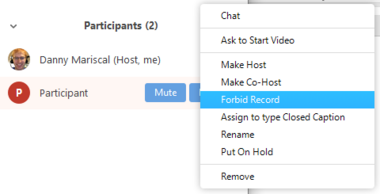
- If you want to deactivate a participant's ability to make recordings, click on "More" beside the name and then on "Forbid Record":
Important: The recording file will always be located in the computer that was used to make the recording.
If you use a PC in a classroom you must make sure to obtain the recording from that computer!
By default, all recordings will be located in an automatically generated Zoom folder under "Documents" in the computer.
- PC: C: \ Brukere \ Brukernavn \ Dokumenter \ Zoom
- Mac: / Brukere / Brukernavn / Dokumenter / Zoom
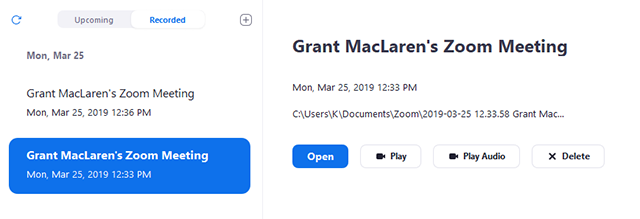
You will also find the recording file through Zoom Client, also in the computer which was used to make the recording.
- Open Zoom Client and click on "Meetings":

- Click on the "Recorded" tab and select the meeting with a local recording:
